
#
The freshest, developer-friendly analytics tool.
Litlyx is an open-source, self-hostable analytics solution for modern frameworks. Setup takes less than 30 seconds!
#
#
## Get Started on our Cloud Version
Sign-up on [Litlyx.com](https://dashboard.litlyx.com) and create a project. Then simply use your project_id to connect Litlyx to your website OR Self-Host Litlyx with Docker.
## Universal Installation
```html
```
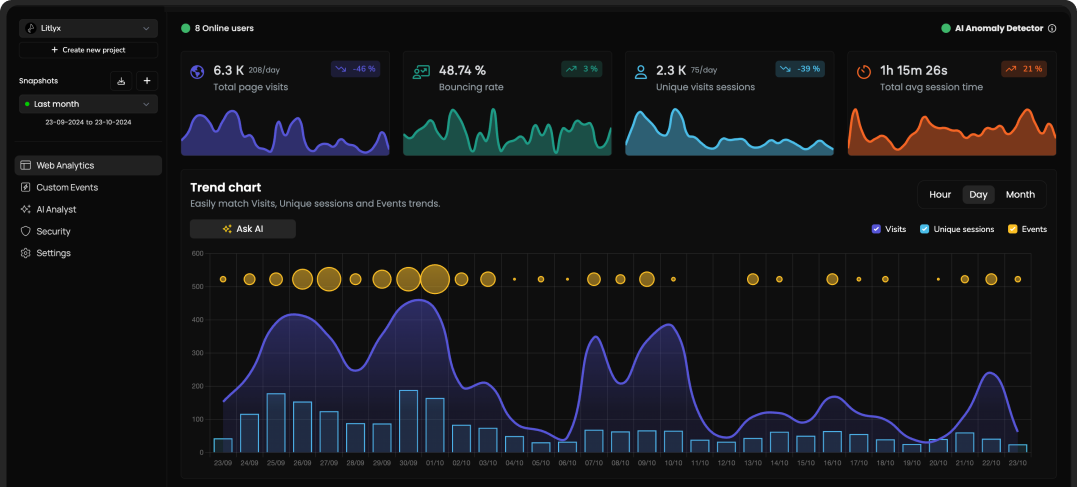
Importing Litlyx with a direct script instantly starts tracking `Page visits`, `Browsers`, `Devices`, `Operating Systems`, `Bouncing Rate`, `Real-Time Online Users`, `Unique Sessions`, `Countries`, and `Average Session Time`.
# All Javascript Runtimes
You can install Litlyx using `npm`, `pnpm`, `yarn` or any modern package managers:
```sh
npm i litlyx-js
```
Litlyx natively works with all JavaScript / TypeScript frameworks. You can use Litlyx in all WordPress Websites by injecting JS code using a plug-in. Litlyx also works in serverless environments with Cloud (or Edge) Functions.

# Import
Import litlyx-js library into your code:
```js
import { Lit } from 'litlyx-js';
```
Once imported, you need to initialize Litlyx:
```js
Lit.init('your_project_id');
```
After initialization, Litlyx will automatically track analytics such as `Page visits`, `Browsers`, `Devices`, `Operating Systems`, `Real-Time Online Users`, `Unique Sessions`, `Countries`, and `Average Session Time`.
# Track Custom Events
You aren't just limited to the built-in KPIs. With Litlyx, you can create your own events to track in your project.
```js
Lit.event('click_on_buy_item');
```
If you want more specific tracking, you can use the `metadata` field, like this:
```js
Lit.event('click_on_buy_item', {
metadata: {
'product-name': 'Coca-Cola',
'price': 1.50,
'currency': 'EUR'
}
});
```
Litlyx makes it easy for you to tailor your analytics to your project's needs.
# Fire Your First Event with cURL
Want to quickly see how Litlyx works with events? Use the cURL command below to send a test event. Just replace the `project_id` with your actual project ID in your terminal.
```bash
curl -X POST "https://broker.litlyx.com/event" \
-H "Content-Type: application/json" \
-d '{
"pid": "project_id",
"name": "testEvent1",
"metadata": "{\"test\": \"something\"}",
"website": "something",
"userAgent": "something"
}'
```
# Self-Hosting with Docker
To self-host the Litlyx dashboard, first **fork** this repository.
Then run the following command:
```bash
docker-compose build
```
after the build finishes, run:
```bash
docker-compose up
```
at localhost:3000 you will see your own instance of the Litlyx Dashboard.
## Forward data to your local instance with script tag
To forward your data on your self-hosted instance, you need to set up the following variables: add your `data-host`, add your `data-port`, and add your `data-secure`, setting it to true if it is HTTPS, and false if it is HTTP.
```html
```
# Official Docs
For more info read our [documentation](https://docs.litlyx.com). (will be improved in the near future using Mintlify!)
# Join Discord
If you need more information, interact with us or the community, help, or want to provide feedbacks, feel free to join us on the Litlyx [Discord](https://discord.gg/9cQykjsmWX)
# Contributors
Every kind of contribution is accepted in this stage of the project. In the future we will improve the contributor onboarding process.
### Thank you!
 # License
Litlyx is licensed under the [Apache 2.0](/LICENSE) license.
# License
Litlyx is licensed under the [Apache 2.0](/LICENSE) license.